Delicious and nutritious barely scratches the surface with this easy and frugal Instant Pot bone broth! Perfect for all your broth needs!
This blog does not use AI.

(This post contains affiliate links, which means I make a small commission at no extra cost to you.)
Instant Pot Duo PlusTips
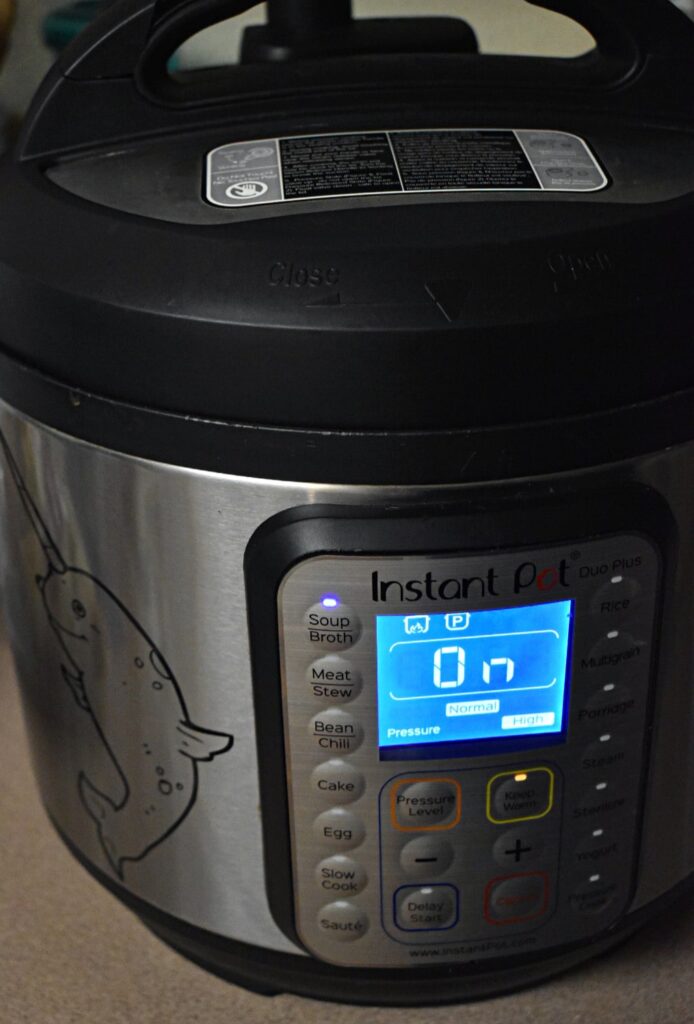
- Each button on your Instant Pot can be set to your specifications. Ex. Soup/Stew, once selected, will display a set time and pressure, if you adjust that time and pressure the machine will save your preferences. From then on when you push Soup/Stew your pressure cooker will display those same settings.
- You can get replacement silicone rings, for the inside of your lid. These can be useful to have on hand for when your seal suddenly stops working, or when you don’t want your dessert to have a meaty scent!
- You can use the pressure cooker while working or running errands, like a slow cooker it is, set it and forget it to some extent. It will automatically switch to warming when the timer goes off.
- Your Instant Pot is safe! There are many redundant mechanisms in place to ensure your safety. If you are still nervous, check here for specific information.
What is bone broth?
Bone broth is stock made specifically with bones, but not exclusively. The bones, and vegetables, are pressure cooked over a few hours or low simmered for days. This broth is being hailed as a new miracle food for all that ails you. It might not all be true, (gets rid of wrinkles? Maybe not.) but bone broth does provide great nutritional value to your diet!
Health benefits of bone broth
Bone broth contains collagen and when cooked down that turns to gelatin. This is important, because gelatin contains essential amino acids that we need for gut health. Amino acids are the building blocks of proteins, which are used to replicate and repair cells. The ability to repair cells is what allows your body to recover from injury or illness quickly. We can look at the various links between your gut and your immune system to see that what you eat matters on more than just the taste level.
Is bone broth only bones?
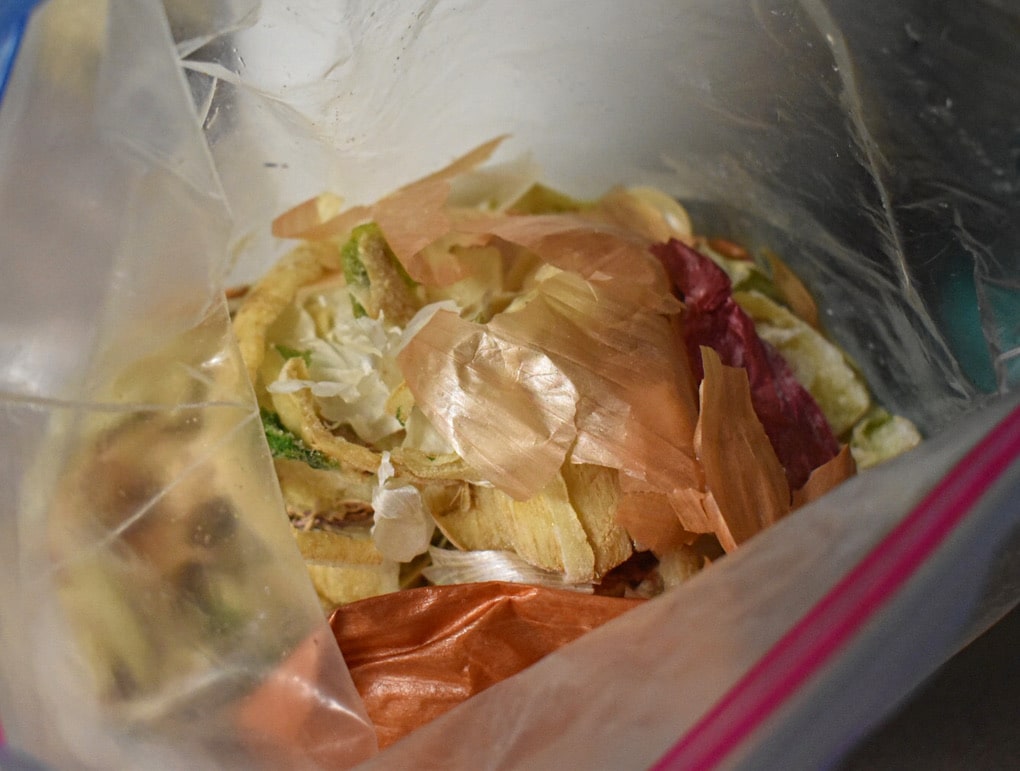
It could be only bones, but I prefer to add in vegetable scraps, to add flavor and extra nutrients. I always have vegetable scraps in my freezer that I am looking to utilize! I want nothing to go to waste. The skins of garlic and onions, the peels of carrots and parsnips, the ends of onions, garlic, celery, carrots, and parsnips. All of these vegetable scraps add great flavor to bone broth. I even throw herbs that are about to go bad in my freezer for my next batch of broth. I do not add vegetables that taste very strongly, ex. cabbage, beets, leafy greens, squash, or hot peppers. Sometimes, I will add in the seeds and tops of sweet peppers, but they don’t always make the cut. Just use what you have and what sounds delicious!
What type of bones can I use?
You can use any bones you have available. I most often use chicken carcasses, because that is what we eat most regularly. Other options would include, T-bone steak bones, pork chop bones, rib bones, and even wild game bones! Ideally, the bones would come from animals that were treated well and raised humanly. A bone is only as healthy as the animal. There are several options for finding local farmers and purchasing humanly raised meat at Local Harvest.
How do I get enough bones to make Instant Pot bone broth?
The freezer is your friend! I store all of my bones, and scraps, in the freezer, until I have enough to fill my Instant Pot. Enough to fill the Instant Pot is usually one bird carcasses and a couple random other bones, like rib bones. The more broth I use, the more I prioritize making bone broth.
How to store Bone Broth
- You can store it in your fridge for up to a week.
- You can store it in your freezer in super cubes or mason jars. If you use the super cubes you can pre-portion specific amounts, such as 1/2 cup, 1 cup, or 2 cups, in the silicone molds. Then you pop them out of the mold and store them in ziplock, or reusable, bags in the freezer. If you use a mason jar I recommend the wide mouth jars and leaving at least an inch of empty air at the top to allow the liquid to expand without exploding the jar.
- You can store it on your shelf. Storing it on the shelf does require pressure canning the broth for 90 minutes, a pressure canner, and the canning know how, but it is super simple once you learn the basics of canning! When you pressure can broth you do break down some of the collagen and the broth will not gel. The method that I choose honestly depends on the situation. If I have a lot of bones that I need to use up then I will make several batches and can them. But, if I need broth for dinner then I will store it in my fridge and freeze the leftovers.
What can I make with bone broth?
- Instant Pot: Black Bean and Chicken Soup
- Southern Collard Greens with Bacon
- Southern Black Eyed Peas
- Chicken and wild rice soup
- CHICKEN AND MUSHROOM RISOTTO
Why does my bone broth look like jello?!
Your bone broth was liquid when you strained out the bones, but when you pulled it from the fridge, hours later, it looks like brown jello! What does it mean? Bone broth is full of collagen. It is one of the main nutrients you want to extract from the bones. When you have your ratio of water, to bone, to connective tissue correct then you will get a gelatinous broth that looks like brown jello. This is normal and expected! Do not worry, as soon as the bone broth is warmed, it becomes liquid again. Your soups wont feel like jelly as you eat them!

Why doesn’t my bone broth look like jello?!
You added “too much” water. I use quotes because it does not take away from the nutritious aspect of the bone broth. It does mean that your broth is not as concentrated as it could be. I don’t worry about this at all, yes it happens to me as well. This article has some great tips for troubleshooting bone broth if you want more help! I don’t worry about it!
What about organs?
Maybe this only happens to me, but often times I find organs and necks inside my organic chickens. I didn’t feel comfortable throwing them away, what a waste. So, I started adding them to my bone broth! This gives you the added nutrients of various organs, but you don’t have to eat them! I personally hate liver in any form, but I acknowledge that liver, in small doses, can have health benefits. Bone broth is a great way to take in these nutrients without the not so great texture that some organs have.
How to use bone broth
Bone Broth made in your Instant Pot can be used for everything! I use it in soups, obviously, but I also use it to make pasta sauces. It is excellent in stuffing, and in place of water when making quinoa or rice. Some people drink a cup of bone broth everyday. When you have kiddos that aren’t willing to drink bone broth plain, sneak it in wherever you can. Anytime you use water to cook, including boiling noodles, you can substitute bone broth! It adds great flavor and has health benefits.
Ingredients
- 1 chicken carcass + any extra bones, approximate
- 2c vegetable scraps, approximately
- 1/2Tbsp apple cider vinegar
- 8c filtered water, approximately
Equipment
- Instant Pot or electric pressure cooker
- Cheesecloth
- Colander, or sieve
- Large bowl, with a pour spout if possible
- Vessels, I use two half gallon mason jars
- Wide Mouth Funnel
- Leak Proof Lids
Directions
1.Plug in the Instant Pot and remove the bag of bones/veggie scraps from the freezer.
2. Place the bones and vegetables in the Instant Pot, but only as high as the fill line.

3. Pour in 1/2Tbsp apple cider vinegar, to pull out the collagen and nutrients from the bones.
4. Fill the pot with filtered water, until the bones and veggie scraps are fully submerged. This can vary greatly depending on the amount of scraps you have saved up.

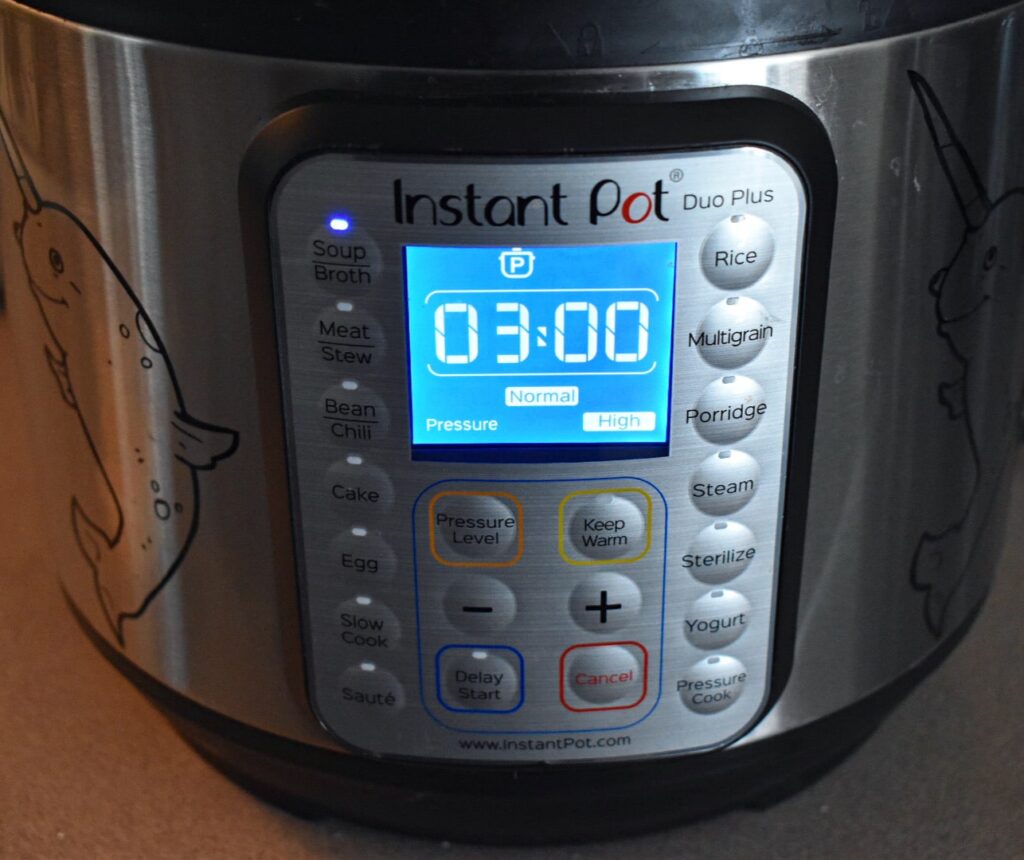
5. Place the top on the Instant Pot and set to it 3 hours and high pressure. The whole process will take closer to 4 hours, when you include the time it takes to come to pressure.
6. Once the allotted time has passed, I set the time for an additional 3 hours. I want to extract as many nutrients as possible, so I run the broth twice.
7. The next part depends on the time of day. If I don’t have enough time to strain the bone broth right then, I might hit the 3 hour button again, or just let it sit on the warming setting till I’m ready.

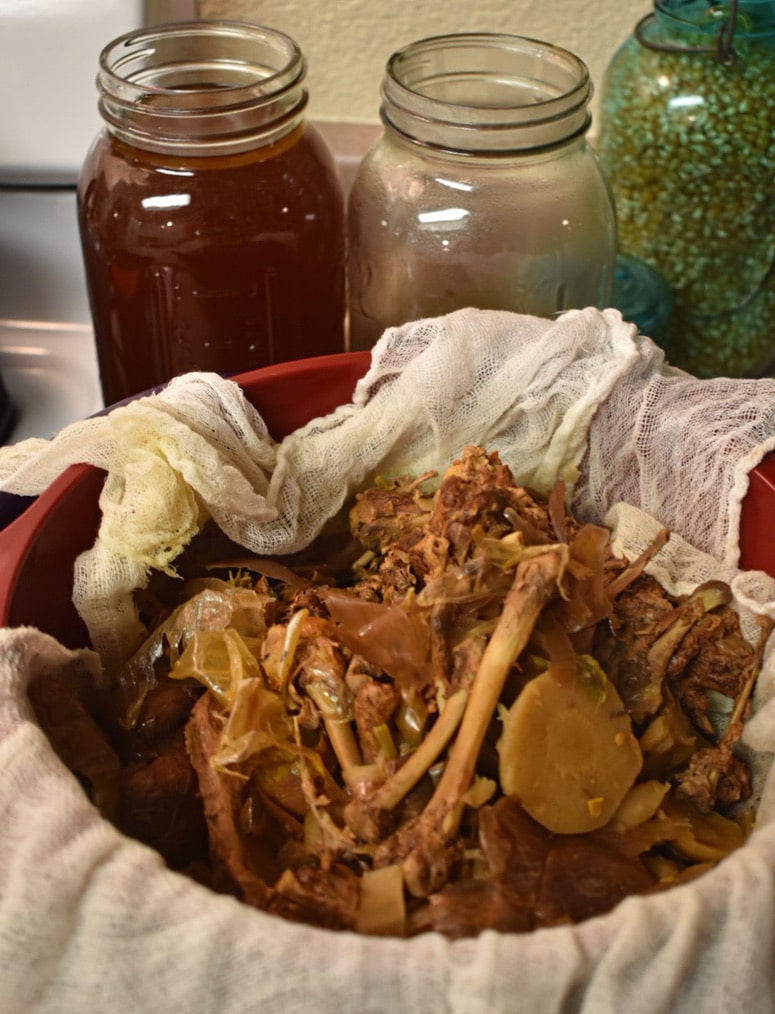
8. When ready to strain the bone broth, I will line a large colander with cheese cloth and place that over a large bowl, preferably with a pour spout.

9. Once you have set up your straining configuration, then it is time to pour your bone broth through the colander.
10. Pour the bone broth from the bowl into a large half gallon mason jar. I usually use 2.

11. Rather than immediately throwing the leftover bones and vegetables into the compost or garbage, I let them rest in the colander, over the bowl, for a few hours to ensure that I get every last drop of bone broth availed. This isn’t necessary but I like it.
12. Close up your mason jars and store in the fridge for up to 10 days.
13. Enjoy your delicious and nutritious broth!
For more delicious pressure cooker recipes check out my All Things Instant Pot page!

Instant Pot Bone Broth
Ingredients
- 1 chicken carcass + any extra bones, approximate
- 2c vegetable scraps, approximately
- 1/2Tbsp apple cider vinegar
- 8c filtered water, approximately
- Equipment
- Instant Pot or electric pressure cooker
- Cheesecloth
- Colander
- Large bowl, with a pour spout if possible
- Vessels, I use two half gallon mason jars
Instructions
1. Plug in the Instant Pot and remove the bag of bones/veggie scraps from the freezer.
2. Place the bones and vegetables in the Instant Pot, but only as high as the fill line.
3. Pour in 1/2Tbsp apple cider vinegar, to pull out the collagen and nutrients from the bones.
4. Fill the pot with filtered water, until the bones and veggie scraps are fully submerged. This can vary greatly depending on the amount of scraps you have saved up.
5. Place the top on theInstant Pot and set to it 3 hours and high pressure. The whole process will take closer to 4 hours, when you include the time it takes to come to pressure.
6. Once the allotted time has passed, I set the time for an additional 3 hours. I want to extract as many nutrients as possible, so I run the broth twice.
7. The next part depends on the time of day. If I don’t have enough time to strain the bone broth right then, I might hit the 3 hour button again, or just let it sit on the warming setting till I’m ready. This has been close to 12 hours before.
8. When ready to strain the bone broth, I will line a large colander with cheese cloth and place that over a large bowl, preferably with a pour spout.
9. Once you have your set up your straining configuration, then it is time to pour your bone broth through the colander.
10. Pour the bone broth from the bowl into a large half gallon mason jar. I usually use 2.
11. Rather than immediately throwing the leftover bones and vegetables into the compost or garbage, I let them rest in the colander, over the bowl, for a few hours to ensure that I get every last drop of bone broth availed. This isn’t necessary but I like it.
12. Close up your mason jars and store in the fridge for up to 10 days.
13. Enjoy your delicious and nutritious broth!


Leave a Reply